Summary
Step 1: Prepare to change the fuel filter
Step 2: Remove Fuel Filter
Step 3: Install the new fuel filter
Step 4: Check the operation of the new fuel filter
As part of car maintenance, the fuel filter’s replacement is essential for the durability of the engine’s fuel system.
While many maintenance operations have become very complex, given today’s vehicle technologies, filter replacement remains one of the most specific functions to perform. However, it is essential to respect particular safety measures. This post provides a step-by-step guide on how to change a fuel filter safely.
The role of the fuel filter
The fuel filter retains particles, impurities, and water. It is essential to protect the fuel system and its organs.
The advent of direct injection has further amplified its importance.
Good to know: the high pressures exerted (up to 120 bar) require optimal filtration to preserve the high-pressure pump and petrol injectors.
Filter elements
It is made up of:
– a metal or plastic envelope which encloses a fine filter paper. Its filtration power is from 5 to 20 microns (0.005 to 0.020 mm);
– a fuel inlet and outlet.
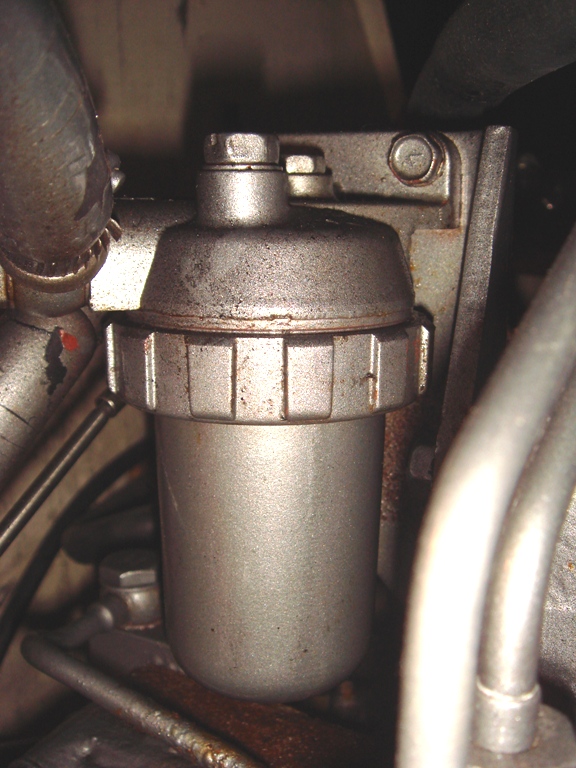
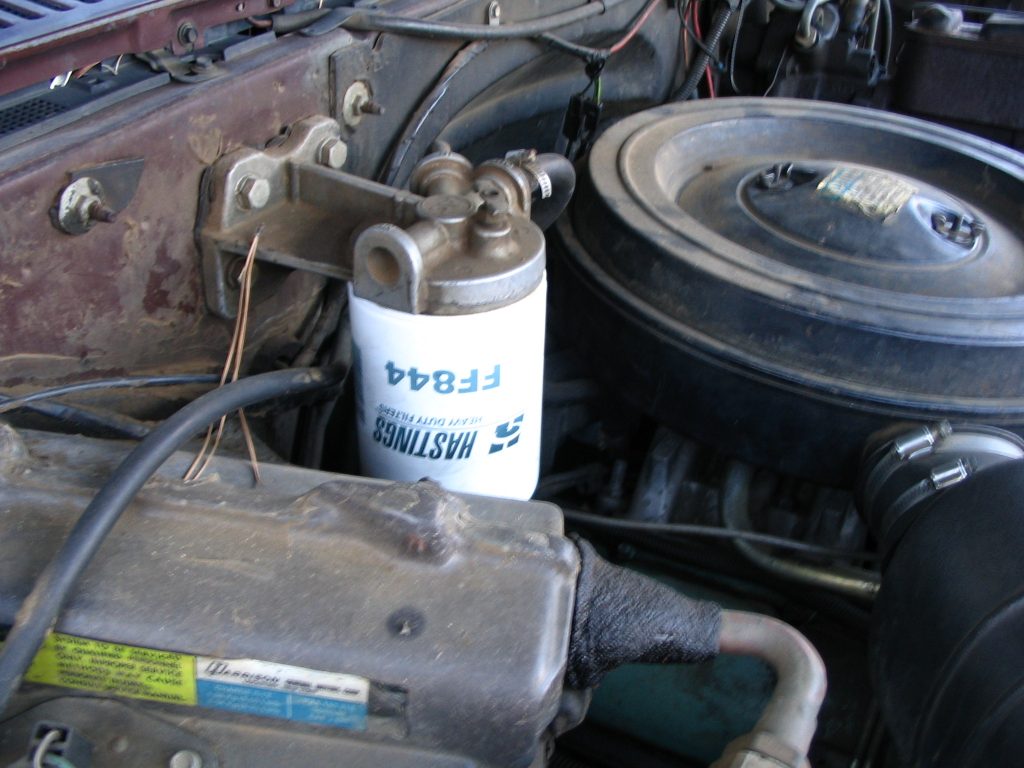
The filter is located in the engine compartment in an accessible place, secured by a collar.
Good to know: this element can sometimes be located under the chassis, near the fuel tank.
Car maintenance

A clogged filter leads to power loss, jerking, or engine shutdown during acceleration. Normally, fuel filter replacement intervals are generally 20,000 km.
Always buy a brand name or a genuine manufacturer’s fuel filter.
Good to know: a lower quality filter can cause damage to the injection system.
Materials needed to change a fuel filter
| Rag | Recovery |
| Hexagon key | Starting at $2. |
| Disposable latex gloves | About $3 per box of 100 |
| Protective goggles | $6 approx. |
| Container | $1 |
| Phillips screwdriver | Starting from $3. |
1. Prepare to change the fuel filter
Start by taking the necessary precautions to avoid any danger during this a priori harmless operation.
Protect yourself
Wear goggles and protective gloves.
Good to know: the low-pressure system, when the engine is stopped, remains under a residual pressure (3 to 5 bar), which represents a danger of gasoline splashes.
Avoid the risk of ignition
Gasoline is a volatile fuel, quick to ignite, so the risk of heat and sparks must be kept away.
– Wait for the engine to cool down.
– Disconnect the battery.
– Also, provide a container or rags to collect the fuel spill.
2. Remove the fuel filter
Once the precautions have been taken, remove the filter.
– Disconnect both fuel filter lines.
Important: In modern cars, plastic connectors are very fragile. Use special pliers to remove them.
– Uncouple the filter from its support.
– Place the filter in a container to collect the residual fuel.
3. Install the new fuel filter

– Check the conformity of the fuel filter before installing it.
– Attach the filter to its support, paying attention to the mounting direction.
Good to know: Usually, an arrow indicates the direction of fuel flow.
– Snap-in the hoses. This is done manually, without tools.
– Wipe off any fuel residue.
4. Check the function of the new fuel filter
– Reconnect the battery.
– Start the engine.
Good to know: starting the engine is not a problem; the feed pump’s pressure is sufficient to restore the circuit.
– Check for any leaks or seepage.
– Record the mileage and date of replacement on a sticker or in the service log.
That’s it. You are now done with replacing your fuel filter, an essential and quick operation! Please, remember to share this post and leave your comments in the section below.


3 comments
[…] 4 Essential Steps to Changing Your Fuel Filter […]
[…] 4 Essential Steps to Changing Your Fuel Filter […]
[…] – 4 Essential Steps to Changing Your Fuel Filter […]